Everything You Need to Know About Crown Molding

Crown molding , often referred to as the “finishing touch” of interior design, is a subtle yet impactful element that can transform any space. This architectural feature not only adds a touch of elegance but also enhances the overall aesthetic appeal of a room. In this comprehensive guide, we will delve into the intricate world of crown molding, exploring its types, installation process, and the myriad of ways it can elevate your living spaces.
Understanding Crown Molding
What is Crown Molding?
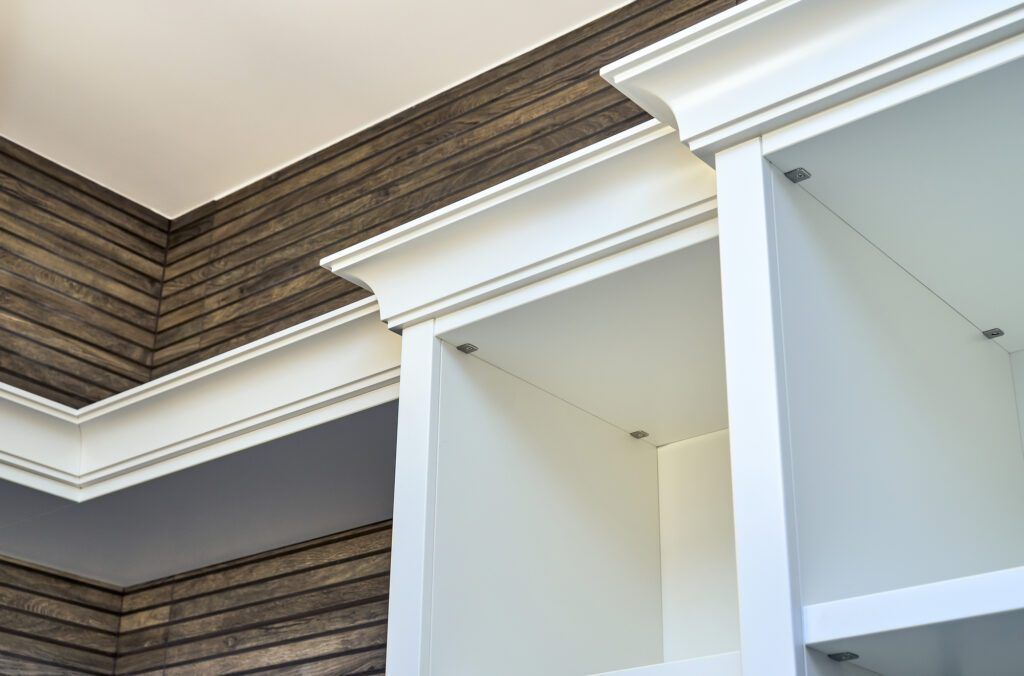
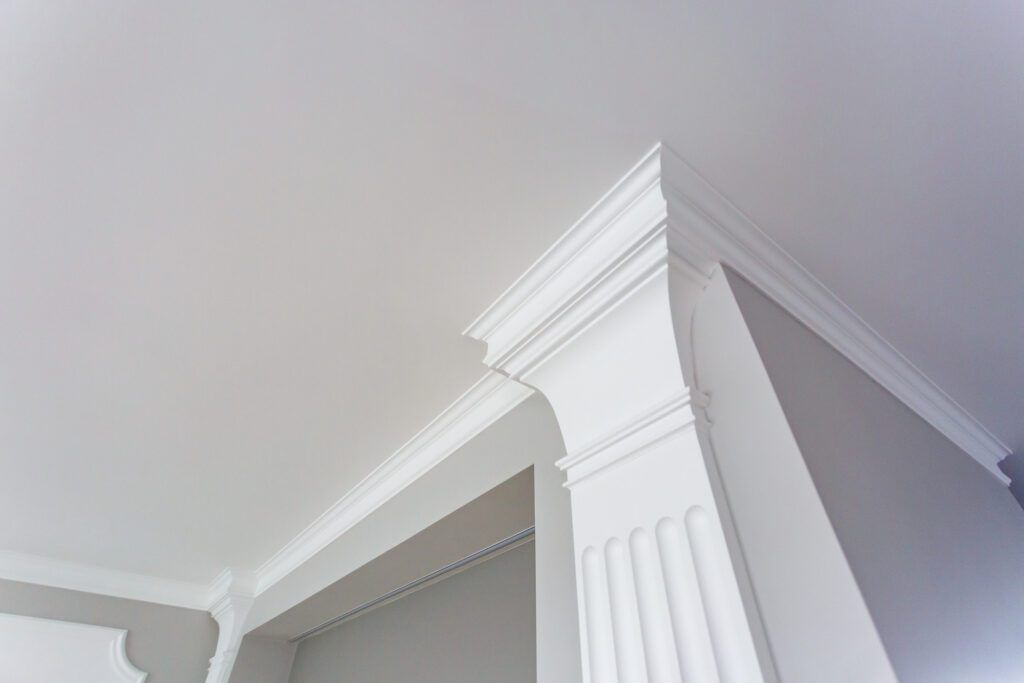
Crown molding is a decorative trim installed at the intersection of walls and ceilings. It serves both functional and aesthetic purposes, hiding imperfections and adding a touch of sophistication to a room.
Types of Crown Molding
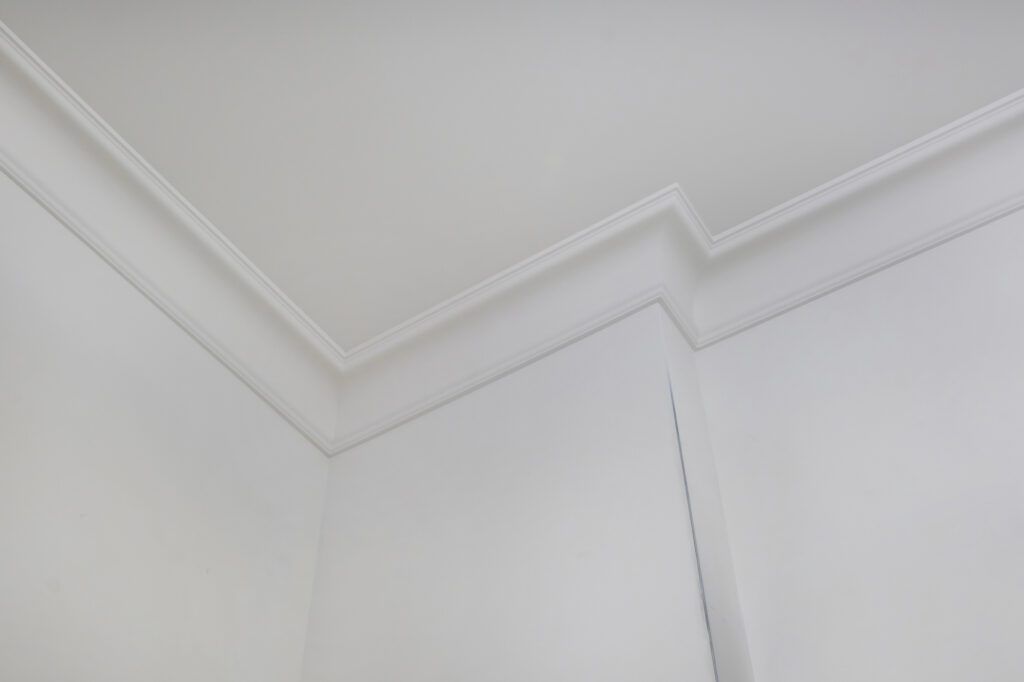
Classic Crown Molding: This traditional style features simple designs and is suitable for various interior styles.
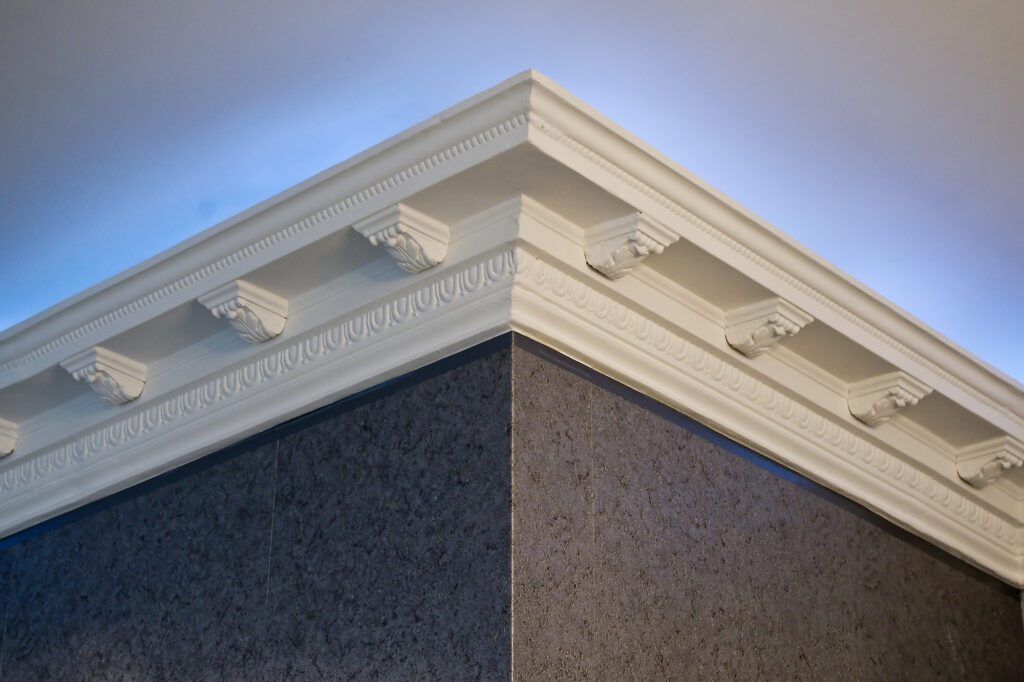
Dentil Crown Molding: Characterized by small, square blocks evenly spaced along the molding, providing a distinctive look.
Cove Crown Molding: Known for its concave shape, cove molding is versatile and complements both modern and traditional interiors.
Colonial Crown Molding: Recognized by its clean lines and minimalistic design, making it a popular choice for contemporary spaces.
Installing Crown Molding
DIY or Professional Installation?
Deciding whether to install crown molding yourself or hire a professional depends on your skill level and the complexity of the chosen design. While some molding installations are DIY-friendly, intricate patterns may require the expertise of a seasoned installer.

Tools and Materials
Before starting the installation process, gather essential tools such as a miter saw, coping saw, and a reliable adhesive. Choose the right molding material, whether it be wood, polyurethane, or MDF, based on your preferences and budget.
Step-by-Step Installation Guide
Measure and Plan: Accurate measurements are crucial. Plan the layout, considering corners and transitions.
Cutting the Molding: Use a miter saw to make precise cuts. Coping may be necessary for inside corners.
Adhesive Application: Apply a strong adhesive to the back of the molding for secure attachment.
Secure the Molding: Nail or tack the molding into place, ensuring it is flush against the wall and ceiling.
Fill and Paint: Fill any gaps with caulk, and paint or finish the molding as desired.

Crown molding is more than just an architectural detail; It is a design statement that can significantly impact the ambiance of your home. Now that you have a comprehensive understanding of the types, installation process, and frequently asked questions about crown molding, it is time to turn your vision into reality. Enhance your living spaces and create a home that exudes elegance and charm.
Ready to transform your space with crown molding?
Request an EstimateFAQs About Crown Molding
Q: Can crown molding add value to my home?
A:
Yes, crown molding can increase the perceived value of your home by creating a sense of luxury and sophistication.
Q: Is crown molding outdated?
A:
Not at all! The Crown Molding service
is a timeless design element that can enhance the beauty of any space, standing the test of time irrespective of current trends.
Q: How do I choose the right size of crown molding?
A:
Consider the ceiling height and room size. Generally, larger rooms can accommodate wider moldings, while smaller rooms benefit from narrower profiles.
Q: Can I paint crown molding a different color than the walls?
A:
Absolutely! Painting crown molding a contrasting color can create a striking visual effect, adding depth and interest to the room.

The post Everything You Need to Know About Crown Molding appeared first on Fogg Carpentry.
